
Texturing a wall is a great idea to give a new life to the roofs and walls. And when you do it yourself, this will also become your pocket. When you will retain the walls, it also adds a unique and exciting touch to its old and naked walls. It may seem tired to do it on your own. But in reality, it is a fairly simple task. With the help of the appropriate equipment and tools, you can do this at any time.
Today we are going to tell you: how the walls tease with common supplies. It does not matter if you want to repair your roof or simply want to fill the unpleasant seams of plaster panels, these techniques will surely help you. In this blog, we have explained everything in detailed steps.
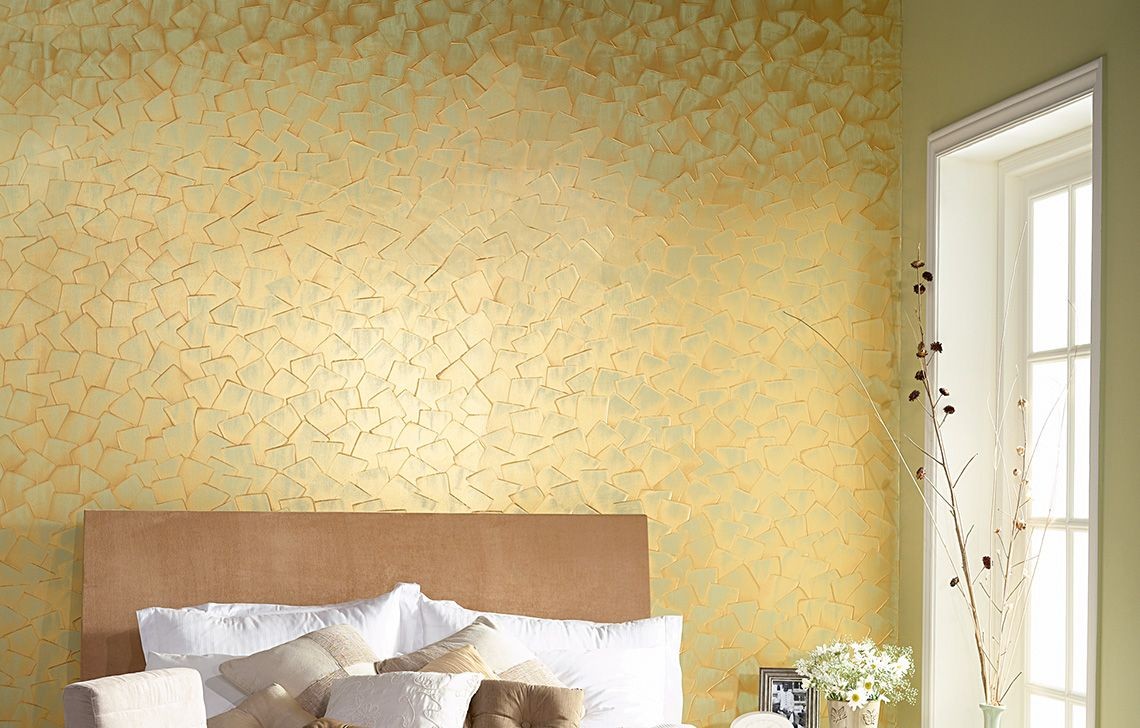
With the help of several objects, such as combs, sponges and blendered brooms can be used to retain a wall or ceiling. This helps win the finished and polished walls, which are impressive. This blog helps you learn how to texture the gypsum wall for several textures. So let’s start the texturing procedure.
Types of texture paints.
The first thing is to choose a texture or pattern. They can be used even to add extra beauty to the roof or to repair unwanted sewing lines. There are many types of textures, such as:
Smooth texture paint
Sand texture paint
Fall texture
Texture of corn popcorn
Orange Peel Texture
If you want to know more about the different types of ceiling textures, then read our blog, which has more than 20 unique texture types and decides which one you want on your wall or ceiling. After choosing a texture, it is time to start the process.
What you need
Here is the list of tools and materials needed that you will be asked to texture a wall. All these items that may already have, and if not, then they are easily available in the market, you can buy them.
Tool materials
Drop cloth painter tape
Plastic sheets composed of plaster panels
Flat painting of plaster knife or grain panel primer
Drilling and paint mixer attachment paint
Painting brush.
Painting tray.
Pallette
Paint roller and cover
Sponge
Working time: 30 minutes.
Total weather: 4 hrs
Level of skill: Beginner
Estimated cost: $ 20 to $ 30
How a wall texture
Today in this blog, we are going to tell you four different forms of a wall. Then, if you want an orange peel or an accumulated texture on your wall or ceiling, following these simple steps, you can achieve any pattern or texture. Then, let’s start with the first method:
- How a wall texture with an articulation compound.
The first step is to clean the walls, then let them dry them completely.
Now combine the articulation compound with water according to the instructions written on it. You must have a consistency of a thick batter.
Use a wide putty knife or a trowel to extend it on the wall.
And after that, it is the texture you want, you can use the tools accordingly to create the desired texture.
Tip: For example, if you want a cross texture, use a flashing trowel and draw lines in the joint compound.
Once you converge the complete wall, check if there is any requirement to make touch-ups. Add the gasket compound in the required spaces.
Before starting to paint, allow this to dry completely for at least 24 hours.
- How a wall texture with a texture sprayer.
If you want texture your wall in the orange peel or corn popcorn texture, you will definitely need a sprayer. By the way, it is the easiest way to teach a roof or wall.
Only follow these steps:
The first step is always cleaning the surface of the wall. Whether you are texturing your wall or ceiling, first clean and then leave them to dry.
Then cover all the furniture, floors, since it does not want to ruin them, right?
Combine the articulation compound with water and then add it to the spray hopper.
After adjusting the nozzle, use slow movements to spray on the walls.
After finishing, spraying on the entire wall, leave it dry for at least 24 hours, you can start painting.
- How a wall texture with a sponge.
With the help of a simple paint sponge, you can create a beautiful imitation texture. You can also finish this in less time, since you need less time in drying. So let’s let you know how to make this sponge technique:
If you want two textured wall effects, then paint the wall first in a base color and let it dry completely.
After that, soak your sponge in the painting of different contrasting colors or the same color (depending on the type of texture you want) for a more striking and elegant aspect.
Then, DAB DAB DAB … repeat this step to create a random texture pattern until the entire wall is full with the design.
Suggestion: For more natural patterns, use marine sponges, and for uniform and rectangular patterns, use a synthetic sponge. Both are easily available in the market.
- How a wall texture with a roller.
Another easy way to tend a wall is using a paint roller. This is a very simple technique and also very popular among people. You can use this technique to create both types of texture: textured paint or false finish.
Texturing with joint compound or textured paint.
You already know the first two steps, right? Yes, clean the walls and mix the articulation compound with water.
After that, pour this mixture into a paint tray, then soak the roller on it, and the rollover on the wall.
Wait a while for the joint compound to settle on the wall, then continue again.
By doing this, there will be a wonderful 3D texture on the walls, which are absolutely beautiful.
Use a brush for corners and then let it dry for 24 to 48 hours.
Texturing with paint for a false finish.
After cleaning the wall or ceiling, paint the wall in a base color and let it dry.
Then take a template or a thick nap roller with the help of a courtesy glaze painting. You can also use the secondary color. That’s!! And your finished false wall is ready!
Tip: If you want something different and unique, you can achieve it using various types of paint tools and techniques.
Wall texture tips and tricks
Always prepare the wall with a gypsum panel primer before applying the joint compound.
It is recommended to delete the existing texture before applying a new one to get a more finished aspect.
For acoustic roof repairs and popcorn, the contact spray is available on the market.
To highlight the textures, you can also use satin paint on top of a wall or ceiling.
Easy, fast and cheap.
Once you know how to texture a wall, you can experiment with various techniques and patterns. This is an effortless DIY project and we are quite sure you will enjoy doing it. It also requires low cost and simple tools and supplies, which is also easy in our pockets, right?